Creating and tracking consignments
How to create a consignment in Telaris, follow it through the statuses, and find it again in the consignment list.
TABLE OF CONTENTS
- Creating a consignment
- The consignment's statuses
- Editing a consignment
- Labels, pickup point and tracking
- Physical delivery
- The consignment list
Creating a consignment
You can create a consignment in three places:
From an order.The Add freight button creates the consignment and exports it to Cargonizer in one step. If the freight type is set up with auto-invoicing, the button is called Add and invoice instead. If you need more control, you can use New consignment from the consignments tab on the order, which creates a local consignment with status New that you edit before export.
From a picking list.When the picking list is closed, you can create a consignment from it, provided picking lists are enabled for this in the setup. The button is called Add freight for a single order and Create consignment for picking lists with several orders.
From the consignment list.Under Logistics and Consignments you can click New consignment and choose order, order lines, recipient and packages manually.
The consignment's statuses
A consignment goes through these statuses:
New: created locally in Telaris, not sent to Cargonizer. Can be edited freely.
Sent: exported to Cargonizer and locked for editing. Ready for EDI.
EDI Sent: reported electronically to the carrier, which now knows the package is to be picked up.
Closed: manually closed without being exported. Can be reopened.
You move the consignment forward with Send to Logistra (from New to Sent) and Send EDI (from Sent to EDI Sent). A consignment can only be edited while it is in status New.
Editing a consignment
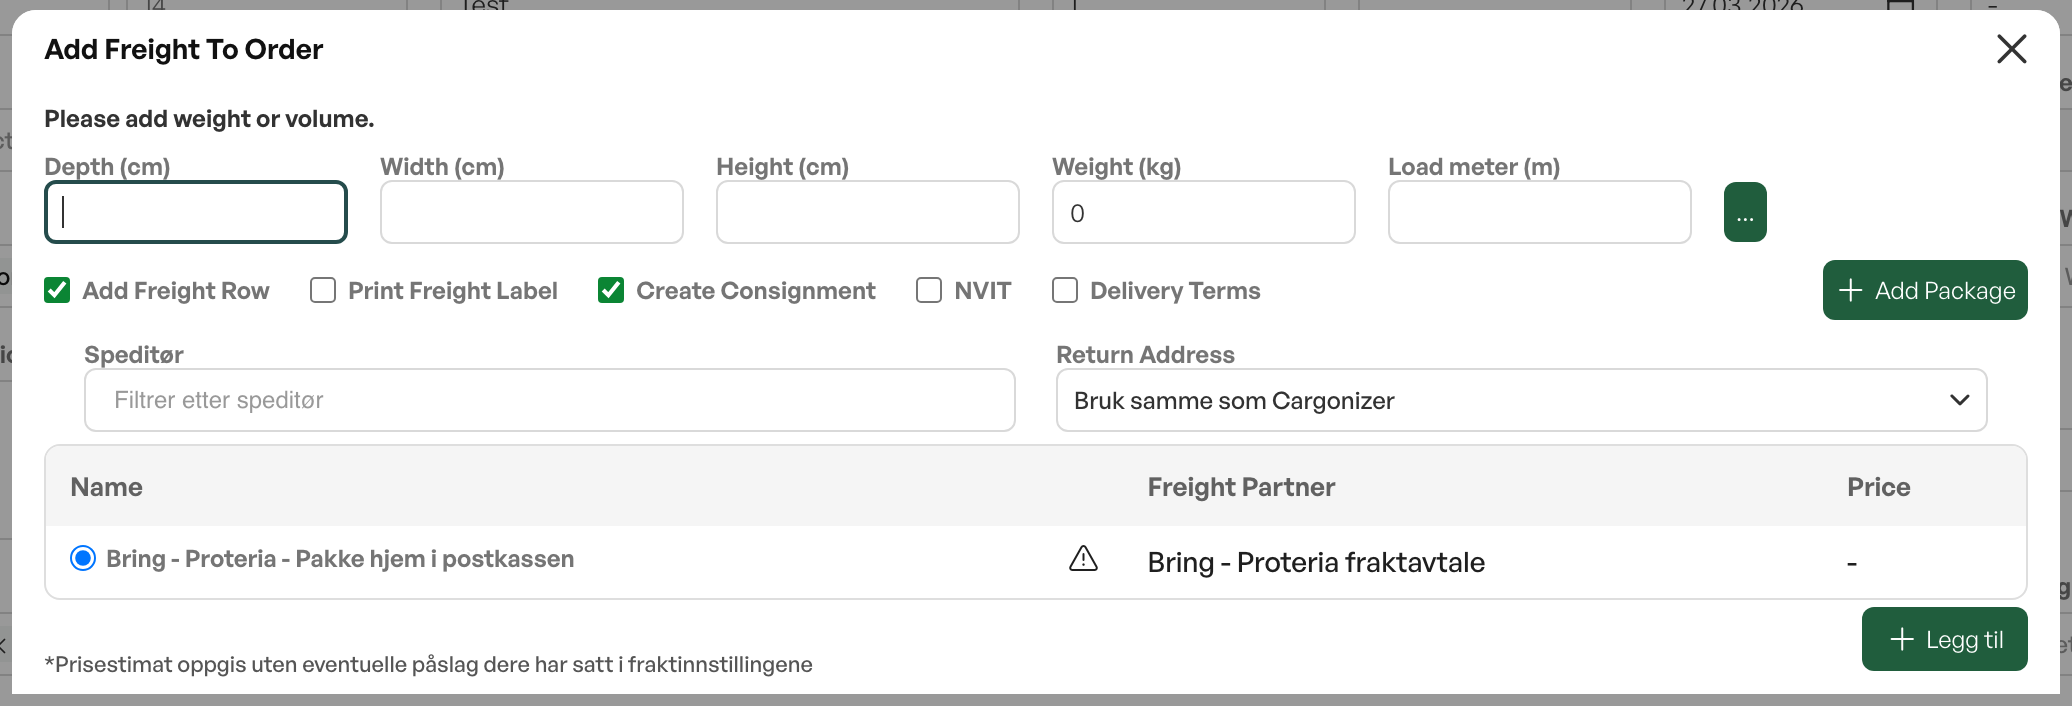
A consignment with status New is edited in four tabs. Under Products you add order lines with quantity, customs code, country of origin and weight. Under Packages you add packages with type, weight, dimensions, load metres, volume and any dangerous goods marking, and choose carrier agreement and pickup point. Under Customer information you fill in recipient, sender, return, contact person and note. Under Summary you see everything together, with the buttons Close, Reopen, Send to Logistra and Send EDI.
Labels, pickup point and tracking
Once the consignment is exported, you can download or print the freight label and waybill, either to screen or directly to a Cargonizer-connected printer. For freight products that deliver to a pickup point, you choose the pickup point when the consignment is created, based on the recipient's postal code. On export, Telaris receives a tracking link, which can be shown on documents and in email when it is set up.
Physical delivery
If the goods are delivered without a carrier, for example pickup in store, you choose Physical delivery from the consignments tab on the order and specify which order lines and quantities have been delivered. This is an internal registration. No data is sent to Cargonizer.
The consignment list
Under Logistics and Consignments you find all consignments together. The list can be filtered by free text (ID, tracking number, order number, customer name), status, carrier agreement and date. From here you can open a consignment, create a new one, and transfer EDI for several selected consignments at once.


Was this article helpful?
That’s Great!
Thank you for your feedback
Sorry! We couldn't be helpful
Thank you for your feedback
Feedback sent
We appreciate your effort and will try to fix the article